# #ASKnet Track II - GitHub Starting Guide
---
### 1. Create a account on Github
---
### 2. Upload a profile picture: https://github.com/settings/profile
---
### 3. Navigate to the 'Organisations' by using the search function: [#ASKnet](https://github.com/ASKnet-Open-Training)

---
### 4. Follow the important Repositories and you're up to date.
You can give a star (is like a like on other platforms). Fork later

---
### 5. Explaining a repository
#### 5.1 Navigation in short words
How to navigate inside a repository

----
* (Breadcrump Organisation/Repository Menu)
* Code-Section
* Issues
* ~~Pullrequests~~
* ~~Actions~~
* Wiki
* ~~Projects~~
* ~~Security~~
* ~~Insights~~
* ~~Settings~~
----
#### 5.2 Short introduction about the sidebar
| Points to explain | Screenshot |
| -------- | -------- |
| * About (Readme & License later)<br />It's important to write a short description about the project and you can put links and tags in it.<br />* Releases<br />* ~~Packages~~<br />* Contributers | 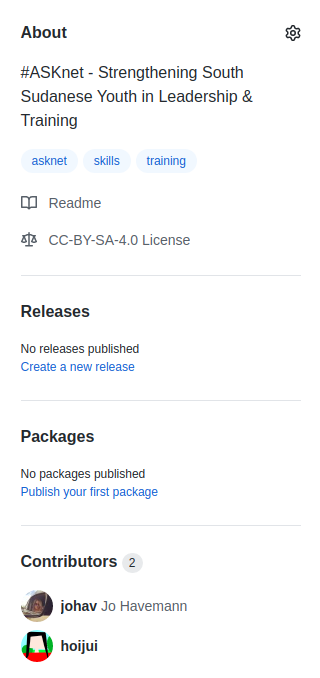|
----
#### 5.3 File explorer
----
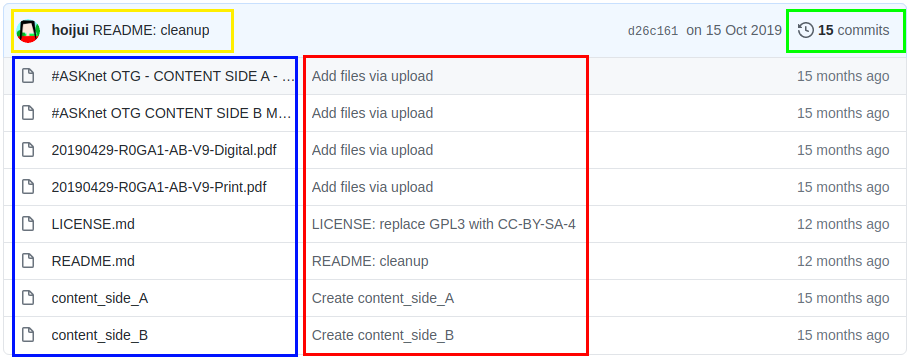
<p style="color:yellow">The user how commit the last changes and a short commit message</p>
<p style="color:green">Here you can see the number of changes/commits and view the history</p>
<p style="color:red">Here goes the commit message</p>
<p style="color:blue">All files and folders in this repository (you cannot make folders over the webinterface!)</p>
----
#### 5.4 Readme
The readme is automaticly parsed as html page and it's under the file explorer. There you can give the important information about the repository.
* Explanation
* How to use it

<p style="color:red;">Here you can edit the readme</p>
----
#### 5.5 Upload a file
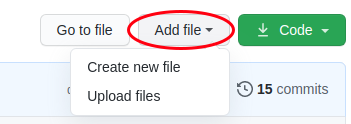
You can create or upload a file directly over the webinterface.
**Tip:** Make sure that the file is not too large!
---
### 6. Create your own repository
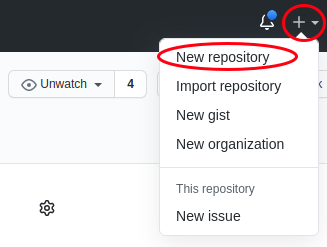
You can see in the upper right corner a + symbol. There you can create your own repository.